We know we can use ls command to list out all the files and directories under a given directory.
But it doesn’t give us size information. Sometimes, size information is important, for example we are examining a code repository, and need to find out and clean up large files and directories.
Linux List Files, Directories, and Their Total Sizes
du command, short for disk usage, can be useful in case like this. It is used to estimate file space usage.
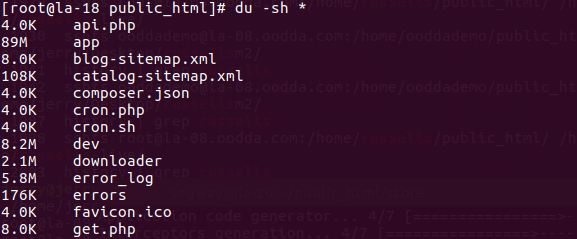
To list all files, directories, and their total sizes, first cd to the directory, and run the command below.
|
1 |
du -sh * |
It will give us an output like below:
Linux List Total Size of Current Directory
To simply list the size of current directory, first cd to the directory, and run the command below.
|
1 |
du -sh |
It will calculate the current directory size:
![]()
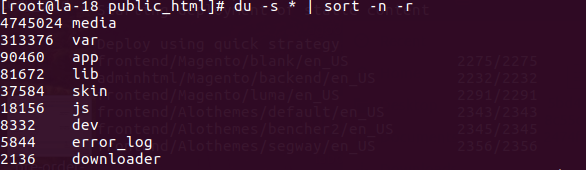
Linux List Files, Directories, and Their Total Sizes in Descending Order
We’ve already known how to list the size for all files and directories in a certain directory, but can we take one more step further to sort the results.
Then answer is YES! See the command below:
|
1 |
du -s * | sort -n -r |
We will need to drop the -h argument, since it will give you human readable output, e.g. 10K, 2.5MB, and they cannot be sorted when we pipe the output to sort command.
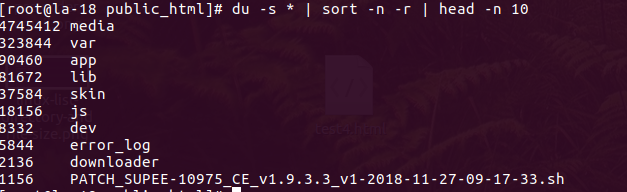
Linux Find the Top 10 Largest Files or Directories in Current Directory
We can pass the output from previous command to a head command to accomplish this.
|
1 |
du -s * | sort -n -r | head -n 10 |