Delete All Product Images from Magento 1

Need to remove all product images from your Magento site? Want to do a site-wide product image resize to speed up your size?
Below are some ways we can accomplish this.

Remove the image product association from database

This is probably the fastest way to remove all product images for a Magento site, just follow below steps:
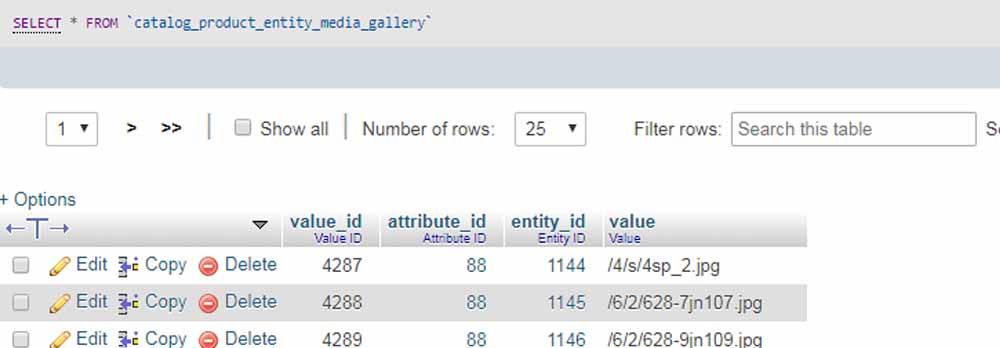
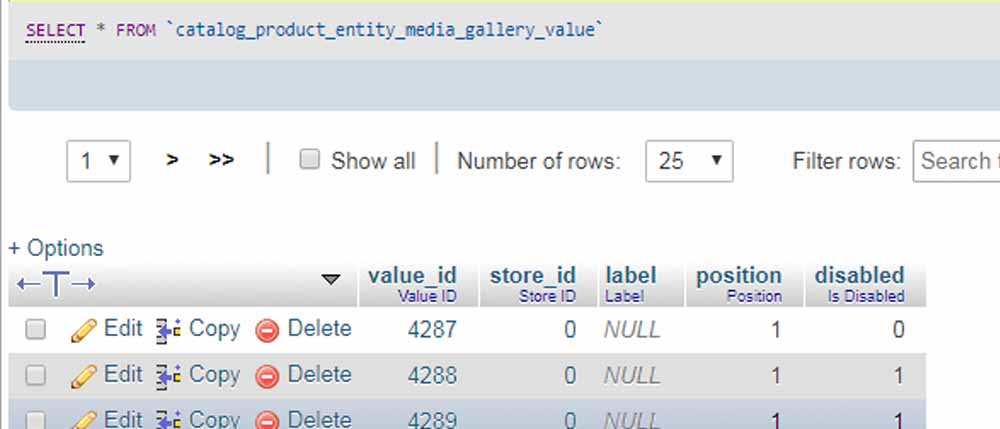
Truncate (delete all records from) the two tables in your db: catalog_product_entity_media_gallery, catalog_product_entity_media_gallery_value

Magento saves all product image data at those tables. catalog_product_entity_media_gallery table stores image path info,

Magento product image db table

and catalog_product_entity_media_gallery_value table holds the image order and if the image is disable.
Magento product image db table

Just log into phpMyAdmin or use MySQL console to run the SQL statement below.

Then log into Magento backend, reindex and it;s done. However this method will not delete the initial images you uploaded before. These images file will remain in media/catalog/product. You can manually delete them or use the script below to delete the image from db and file system at the same time.

Remove images and delete image files

You can run a php script, which uses Magento APIs to remove assigned images for all products, and also delete the image files on the server.

Setp 1. Create a PHP file at your Magento installation root, name it delete_image.php

Step 2. Copy and paste the code below to the PHP file

Step 3. run and execute the PHP script at www.yourmagentodomain.com/delete_image.php

This may take a bit while if you have a large catalog due to I/O tasks involved.

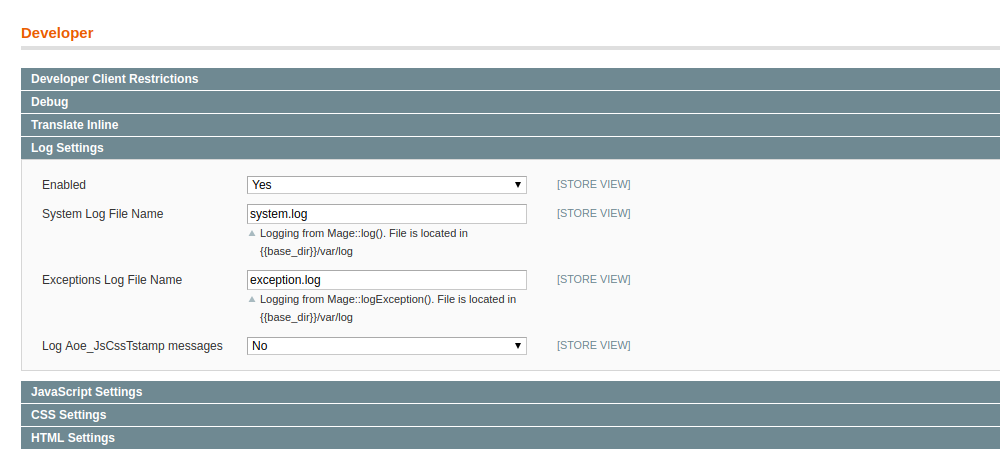
Also, Remember to flush the catalog image cache. System > Cache Management > Flush Catalog Images Cach

Check if a module is enabled in Magento 1

Check From Magento Backend

To check if a module is installed, or activated, first take a quick look from your Magento backend.
Go to System > Configuration > Advance (bottom left)
Then check your module name there. If your module’name is here. It is enabled. Even if you see the module output is set to disable.

Check if Magento module is enabled

How to check if a module is enabled programmatically in Magento 1?

Below is the code you can use to check if a module of your Magento is enabled or not.

isModuleEnabled function is implemented in Mage_Core_Helper_Abstract, which is located in app/code/core/Mage/Core/Helper/Abstract.php

Solution for older version of Magento

It might not be implemented in older versions of Magento, e.g. CE.1.4. If it is so, then you can use the following code to check whether a module is enabled.

When and why you need to check if a module is enabled

Checking if module is enabled is needed before you actually start using the module, for example if you want to load the helper of a module on a view, we can the use the code below,

Mage::helper('XXX_XXXX’);

But if you don’t check if the module is enabled or not before, you are likely to get an error when the module is disabled:

Class 'XXX_XXXX_Helper_Data' not found in xxxxxxxxx  on line xxxx

Note: the code above only checks if the module is enabled or installed, if will not check if the module output is enabled or not.

Magento Mage::log Function, Log Level, and Log Location Explained

Magento provides built-in API for logging. When you are developing new modules or debugging an installed module, these APIs could come in handy.

Mage::log Static Function

If you have been touching with Magento backend code, you have probably seen Mage::log() used by developers in their code. See the examples below, you can use this method to log strings, objects, arrays, etc. This static function is defined in Mage.php

Function Arguments

Take a look at the function signature of this function.

It takes 4 arguments:

The log (1) message, you can pass a string, an object, or an array. If it is an object or an array, it will call print_r function to print in a human-readable format.

The log (2) level, which is defined in lib\Zend\log.php. The default value is null,T and the function will automatically use DEBUG when it is null. In addition, you can also set log level as EMER, ALERT, CRIT, ERR, WARN, NOTICE, INFO, DEBUG.  Check out all possible log level below:

(3) File, if you don’t assign a custom log file location,  it will use default location to store log file. Mage::log function will log into /var/log/system.log; Mage::logException() will save exception printing into /var/log/exception.log

Additionally, you can change the default log locations in Magento back-end under

System -> Configuration -> Developer

Magento Enable Log

Note: see the configuration screen above. In order to store your log messages successfully. Remember if your Magento site is NOT in Developer Mode, and you set  ‘Enable’ to NO in the back-end, you will need to set the (4) forceLog to true , which is the forth argument taken by Mage:log function

However, if you are in Developer Mode, your log message should be stored successfully even if you set you set  ‘Enable’ to NO in back-end.

Mage::logException Static Function

logException function is just a wrapper of Mage::log, where level is set to Zend_Log::ERR. And file is set to default exception log location.

Usages

Last, let’s see some common usage of Mage::log function.


Programmatically Create Auto-Generated Coupon Codes in Magento 1

In Magento, you can generate batches of discount coupon codes based on a shopping cart rule from the backend.

But you may ask how I can generate coupon codes programmatically on request. For example,  you may want to automatically generate a random 10% OFF coupon codes whenever you have a new subscriber and send it to them.

This post will walk you through the essential steps to create an auto-generate coupon code in Magento.

Step 1. Create a Shopping Cart Price Rule in Magento

Before we jump onto coding,  first we will need to create a shopping cart price rule. All codes generated programmatically later will be under this rule.

If you’ve already known how to create a promo rule that uses auto-generated codes, you can skip reading this step.

Go to your Magento backend, and then find Promotions –> Shopping Cart Price Rule from the top menu.

Set up a desired rule for your promotion.  Go through the basic info of your rule, and the condition,  the discount amount. You should be familiar with these. If not, you can find some instruction here >>

A couple things we should be careful when we create the rule: see the screenshot below:

Magento auto generated coupon

1. Select Coupon drop-down to be ‘Specific Coupon‘, which means this rule will be triggered by applying a coupon in cart.

2. Check the Use Auto Generation Coupon checkbox, which means this rule uses auto-generated unique code(a random string), instead of a general coupon code.

3. We should also give Uses per Coupon 1 because each code is meant to be unique and it should be single-use only. Otherwise, the person receive this coupon can use it multiple times or even pass it to other people.

Step 2. Load the Promo Rule You Just Created

Now, it is time to write some code. First, let’s load the rule we just created:

You can find the Id of your rule in the rule list (Promotions –> Shopping Cart Price Rule), Ids are in the first column.

Step 2. Format Coupon Code

Using an array to format the code we are going to create. Basically, there are 5 arguments we can change to get a specific format:

format:  alphanumeric | alphabetical | numeric

length: the length of the code, how many characters

prefix: prefix of the code (optional)

suffix: suffix of the code (optional)

dash every x characters: insert a dash every x characters  (optional)

Let’s also specific how many codes we will generate by adding count to the array.

See the example above, below are some possible codes generated:

PRE0IY3-V2C1-L9SUF

PRE9AHH-28PC-QTSUF

PRE8JGH-ZRVW-EBSUF

Step 3. Generate Coupon Codes

Last, we need to create a generator object and then load our format setting array.

Now, we have our generator object, formatting array, and the promo rule ready. Let’s get some promo codes!

You will not need to worry about if the coupon code generated has existed before. The code generated will be unique.